Skip to main content
Search
Search This Blog
So, What Happens Now?
Home
More…
Posts
Showing posts from April, 2011
Show all
April 26, 2011
Easter Celebrations
April 25, 2011
Nine days
April 20, 2011
One Pretty Thing
April 18, 2011
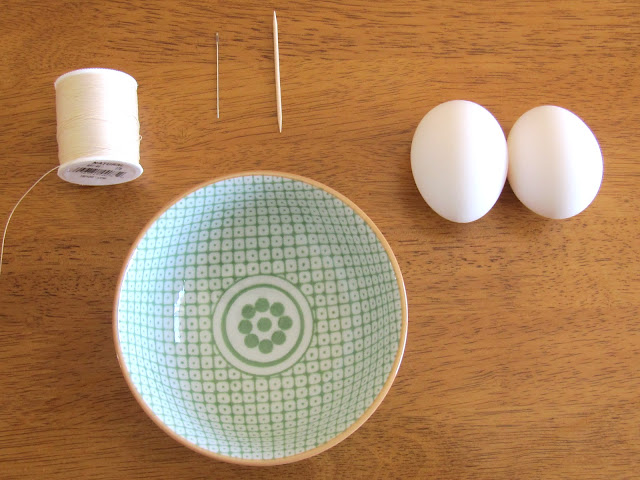
Painted Easter Egg Tutorial
April 15, 2011
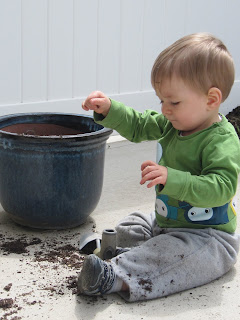
Gardening
April 13, 2011
Norway 2011: Lists and planning
April 06, 2011
Norway 2011: Buying Plane Tickets
April 04, 2011
Norway 2011: What in the?
Newer Posts
Older Posts
Home